Mastering the Art of Time Lapse: A Comprehensive Guide to Making Stunning Videos

The world of photography and videography offers countless opportunities for creativity and expression. One technique that has gained popularity in recent years is time lapse video production. This unique approach allows you to capture extended periods of time in a visually compelling manner, transforming ordinary moments into extraordinary visuals. In this article, we will explore how you can make video time lapse that captivates your audience, especially in the realms of real estate and photography services.
Understanding Time Lapse Photography
Time lapse photography is a technique that involves capturing a series of still images over time and then stitching them together to create a video that plays back at a much faster rate. This method allows you to showcase changes that happen slowly, such as the blooming of flowers, moving clouds, or bustling city scenes. The beauty of time lapse lies in its ability to compress time and present it in a way that engages and entertains viewers.
The Science Behind Time Lapse
At its core, time lapse works on the principles of perception and motion. The human eye can only perceive changes at certain speeds, and when you accelerate these changes, you create a visual story that would otherwise go unnoticed. For instance, a flower blooming over several hours can be transformed into a stunning 30-second video, showcasing the beauty of nature in a brief assembly of moments.
Benefits of Creating Time Lapse Videos
Creating time lapse videos presents numerous advantages, particularly for professionals in the fields of photography and real estate. Here are some of the key benefits:
- Showcasing Transformations: Time lapse videos provide a powerful way to demonstrate changes and transformations over time. Whether it’s a construction project or the natural progression of an event, viewers can appreciate the entirety of the process in a matter of seconds.
- Engagement: Compelling visual content tends to captivate viewers more effectively than static images. Time lapse videos can increase engagement on social media platforms and websites.
- Storytelling: Time lapse allows photographers and videographers to tell a story in a condensed form, making it easier to convey complex ideas and processes.
- Versatile Applications: From real estate showcases to event documentation, time lapse videos can be utilized across various niches, providing new ways of promoting services.
Tools You Need to Make Video Time Lapse
To successfully make video time lapse, you’ll need several essential tools. Let’s take a closer look at what you’ll need:
Cameras
Your camera choice is crucial when embarking on a time lapse project. Here are some options:
- DSLR Cameras: These cameras offer high-quality images and manual control over settings, which is beneficial for time lapse photography.
- Mirrorless Cameras: Similar to DSLRs but in a more compact form, mirrorless cameras provide excellent video quality and flexibility.
- Smartphones: Many smartphones have built-in time lapse features, making them accessible for beginners.
Tripods
Stability is vital in time lapse photography. A sturdy tripod ensures that your camera remains in the same position throughout the shooting period, preventing unwanted movement.
Software for Editing
Post-production is where your time lapse really comes to life. Here are some software options:
- Adobe Premiere Pro: A professional-grade video editing software that offers advanced features for creating and editing time lapse videos.
- Final Cut Pro: An excellent choice for Mac users, providing powerful editing tools for video production.
- iMovie: A user-friendly option for beginners looking to create time lapse on their Apple devices.
- TimeLapse Tool: A dedicated software for creating time lapse videos from a series of photos.
Steps to Make Video Time Lapse
Now that you have the tools, let's dive into the steps to make video time lapse. Follow these detailed instructions to ensure your time lapse project is a success:
1. Choose Your Subject
Select a subject that undergoes visible changes over a given period. Ideal subjects include:
- Nature: Flowers blooming, sunsets, or clouds moving.
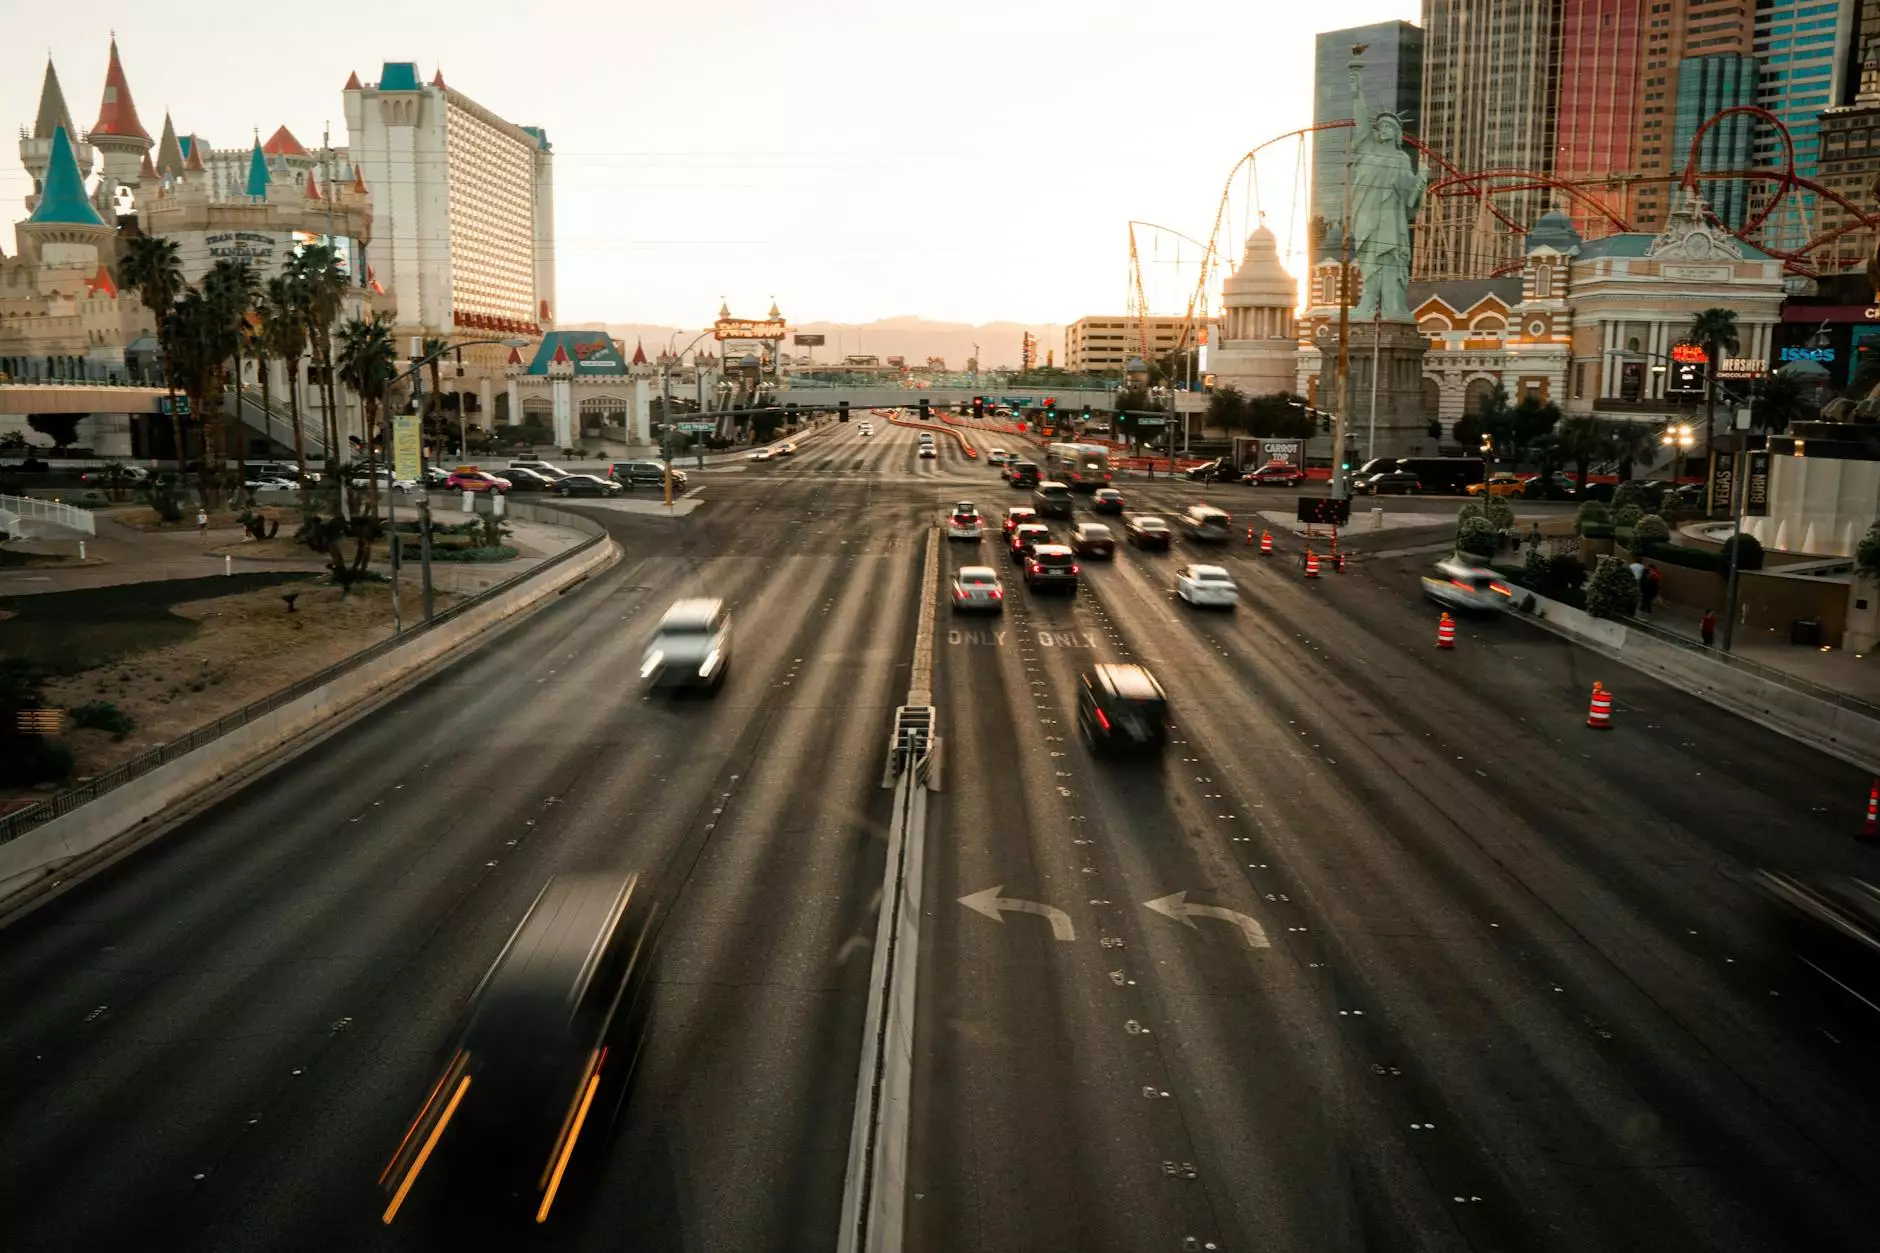
- Urban Scenes: City life, traffic patterns, or construction sites.
- Events: Parties, concerts, or artistic performances.
2. Plan Your Shooting Interval
Decide how often you want to capture an image. This interval will depend on the speed of the changes occurring in your subject. For example:
- Every 5 seconds for fast-moving subjects.
- Every minute for slower changes.
- Every hour for processes that take longer, like a day-to-night transition.
3. Set Up Your Camera
Set your camera on a tripod, frame your shot, and ensure it’s secure. Adjust the following settings:
- Focus: Manually set the focus to prevent shifts during shooting.
- Aperture: Choose a suitable aperture for depth of field.
- White Balance: Set the white balance manually to maintain color consistency.
- ISO: Keep your ISO as low as possible to minimize noise.
4. Start Capturing
Begin taking your series of photographs. Depending on your chosen interval, this could take minutes, hours, or even days. Ensure you monitor your camera and surroundings to prevent disruptions.
5. Edit Your Photos
Once you have captured your images, import them into your editing software. You can enhance the images with color correction, cropping, and adjustments as needed. Then, compile them into a sequence to create your time lapse video.
6. Export and Share Your Time Lapse Video
After editing, export the video in a format suitable for your intended platform, whether it’s for social media or a real estate listing. Remember to choose the correct resolution to maintain quality.
Best Practices for Time Lapse Videos
To ensure your time lapse videos stand out, consider these best practices:
1. Keep It Steady
Use sturdy equipment and avoid any potential shocks or movements that could disturb the camera during shooting.
2. Be Patient
Time lapse photography can require patience, especially for lengthy projects. Ensure you’re prepared to wait, as some scenes may take hours or days to capture.
3. Experiment with Different Bokeh Effects
Utilize different aperture settings to create beautiful bokeh effects in your time lapse, adding an artistic touch that enhances the visual interest.
4. Focus on Lighting
Lighting conditions can dramatically affect the output of your video. Time your shoots during the golden hours for natural light or invest in additional lighting techniques to enhance your scenes.
5. Use Music
The right soundtrack can elevate your time lapse video. Choose music that complements the visuals and enhances the emotional experience for viewers.
Applications of Time Lapse in Business
For those in the fields of photography services and real estate, time lapse videos can be particularly beneficial:
- Real Estate Listings: Time lapse videos can showcase the transformation of a property (e.g., renovations or landscaping) and attract potential buyers.
- Event Coverage: Photographers can capture events such as weddings or corporate gatherings, offering a dynamic viewpoint of the celebration.
- Promotional Material: Businesses can use time lapse videos as effective promotional tools, creating captivating ads that highlight their products or services.
Conclusion
Learning how to make video time lapse is an invaluable skill that enhances any photographer's or videographer's portfolio. With the right tools, techniques, and creativity, you can produce stunning visuals that capture the imagination of your audience. Whether you’re showcasing a property in real estate or telling a story through vivid photography, time lapse videos provide an engaging approach that is sure to leave a lasting impression.
For more inspiration and resources, visit bonomotion.com, where you can explore various photography services, including real estate photography, to elevate your projects and engage your audience effectively.